Signed in as:
filler@godaddy.com
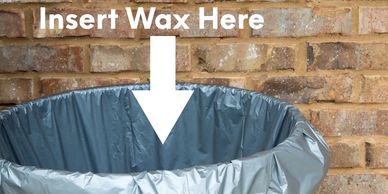
Throw away that old bar of wax and the constant rubbing or that worn down traction pad. You won't need them anymore (and btw the ocean will thank you too!) Just don't throw away that wax comb just yet...we will explain why shortly!
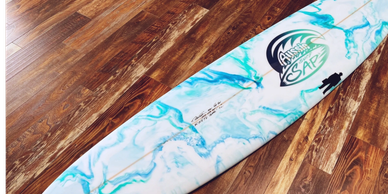
Clean your board thoroughly (lucky you if you have a new board!). Use a commonly available wax remover to get your fiberglass board back to original condition. Aussie SurfSAP adheres best to fiberglass and not wax or other coating.
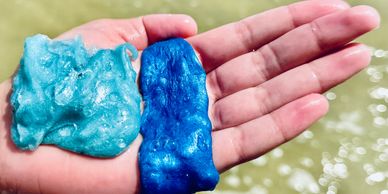
Ready to use your imagination?
To apply, simply squeeze out a small amount (start with a 3-inch/7.5 cm blob—you can apply more later) either in the middle of the stencil or directly onto the board. Using a flat edge like an old wax comb or similar tool, smooth the product over the board. Remember, thicker is not better, but too thin won’t work as intended.
Now, here’s one of Aussie SurfSAP’s party tricks: if you want to add extra grip, lightly sprinkle a small handful of sand on top. Not too much—the sand will bond with SAP and give you incredible traction. Just note that it will be rougher on your skin, so be mindful. We recommend this for full wetsuit sessions rather than bare skin or a rash vest.
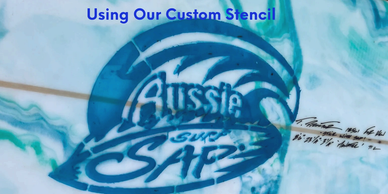
Cure time will vary based on temperature (board temp and ambient air temp), humidity and whether in direct sunlight. Cure time will start immediately and will take approximately 5 hours, but overnight is best for a full cure. To speed up curing put the board into the water and let it accerlate the cure time. Just don't rub off!
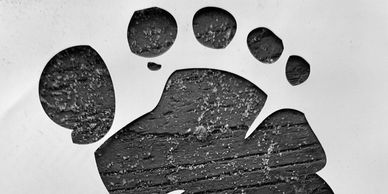
Show off your custom board and patterns and “Stick with SAPI!” Give a nod to the dolphins, rays, turtles, and fish you see, knowing that you’ve taken a huge step in caring for the ocean and its friends. Buy multiple colors and get creative!
A tutorial video is being made on how we apply it! Check back soon.
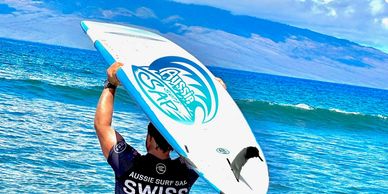
Time to remove? We got you covered with a simple process. We have our own formaluse which is available for sale. But we will provide you with a simple (not full) make-at-home version. See our FAQs for information.
After that, use a plastic wax comb or paint scraper for larger removal and simply scrape off.
Reapply with a new colour and scent for a change. So simple it’s insane!

Safe!
Not only did we create a product safe for our marine friends, but naturally, it had to be safe for us humans too. We have spared no expense in securing only cosmetic-grade materials. This means if you want to coat yourself in Aussie SurfSAP—be our guest. Just remember to send us a photo!
Check out our FAQa and sign up to stay up-to-date on the latest news and tips.